How often are you left really wanting to make personal homemade gifts, but you can’t think of anything? Well, with this cake recipe, we have the perfect solution to a very common problem. All it takes is a little trick and then you can personalize the cake with a picture of the recipient — which is way better than any writing in the frosting! If you have the right photo to hand and don’t mind doing a little crafting with your cooking, this dreamy cream cake with its cocoa decoration is exactly what you’re looking for!

Personalized Photo Cake
Equipment
- Springform pan
- Craft knife
- Sieve
Ingredients
- 10 eggs
- 200 g sugar
- 1 tbsp vanilla flavoring
- 150 g flour
- 50 g cocoa powder
- 50 g cornstarch
- 50 g almond flour
- 750 g whipped cream
- 3 tbsp vanilla flavoring
- cocoa powder for decoration
Instructions
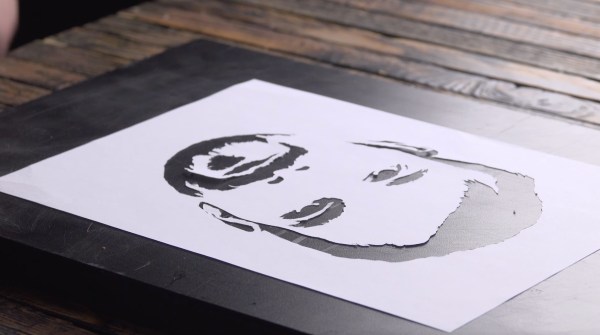
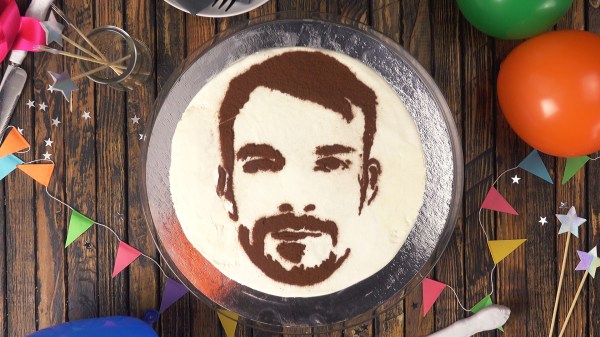
- Print out a photo with the face on a sheet of letter paper. Emphasize the contours by making the contrast stronger before printing. Cut away the most striking outlines with a craft knife to create your stencil.
- Beat the eggs, sugar, and vanilla flavoring together in a large bowl until foamy. Stir in the flour, cocoa powder, cornstarch, and almond flour.
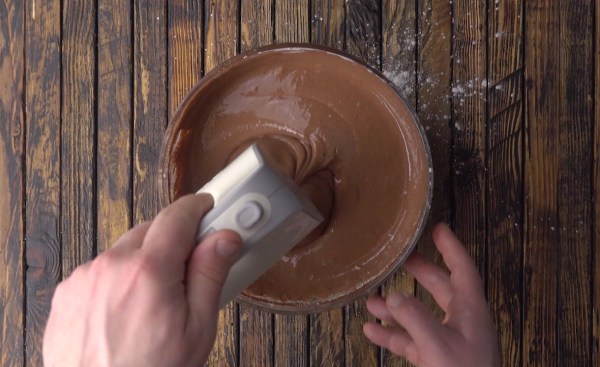
- Put the chocolate batter in a greased springform pan (diameter: 9 inches) and bake it for 45 minutes at 350°F in a convection oven.

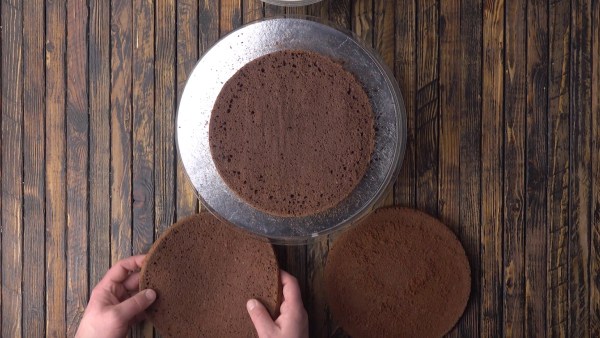
- After the sponge cake has cooled, cut it horizontally into three layers of equal thickness.
- Stir the vanilla flavoring into the whipped cream. Place the first layer of cake on a plate and spread it generously with cream. Repeat for the second and third layers. Spread the top layer with cream and cover the sides of the cake with the rest of the cream. Then stand the cake in a cold place.

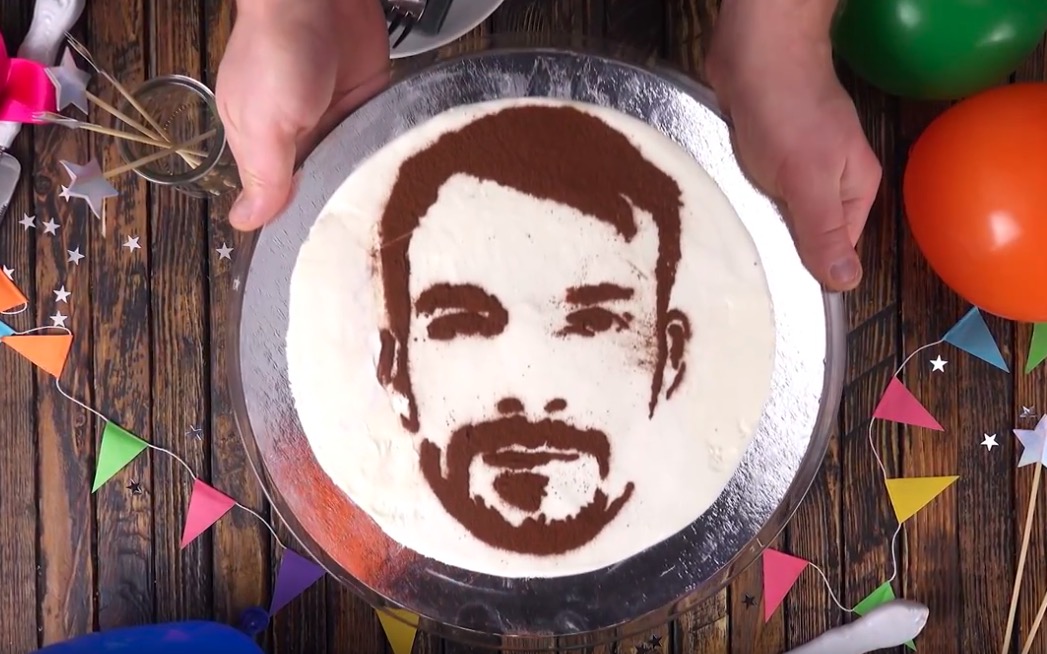
- Lay the stencil carefully over the surface of the cake. Put the cocoa powder in a sieve and sprinkle the areas that the stencil doesn't cover. Carefully remove the stencil.
VIDEO
The great think about recipes like this is that it’s really easy to customize it for a specific person, as long as you have the right snapshot to hand. In this way, don’t just have a personal and thrifty gift up your sleeve, but a particularly tasty one too!