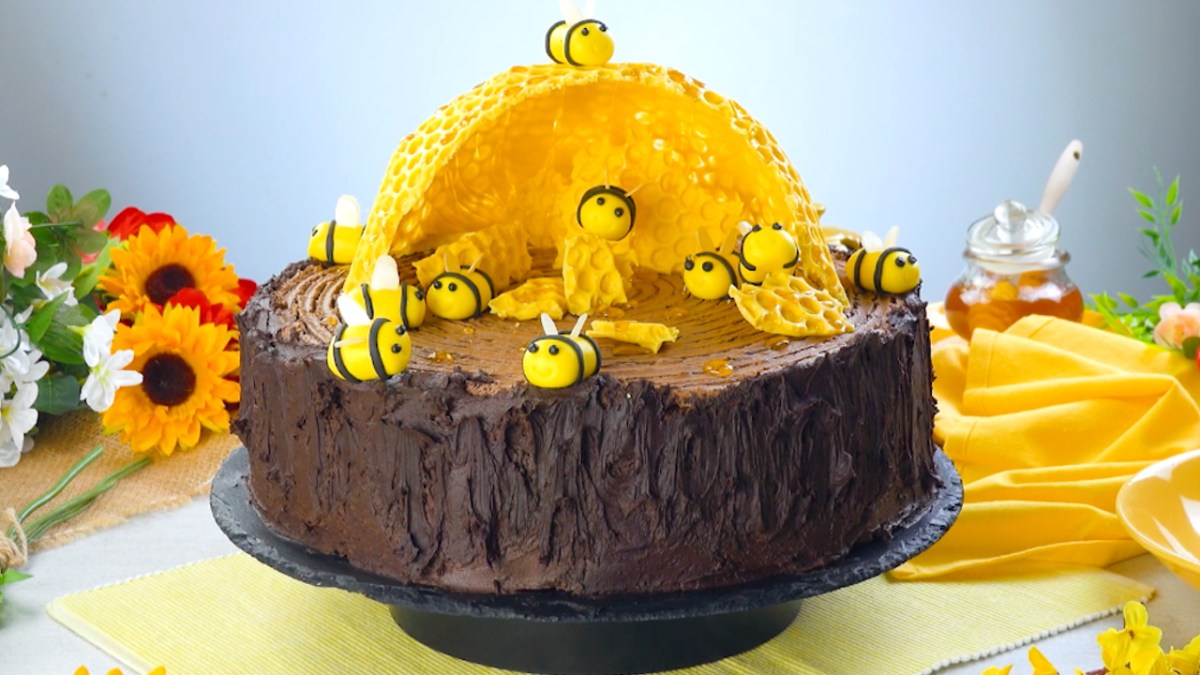
There’s no sweeter insect than the bee. From their bright yellow color down to the sweet honey they make, we love the bees, even if they sting from time to time. This stunning beehive cake takes the best of the bees and makes them even sweeter! Double layers of a light honey cake are topped off with thick, rich double chocolate frosting. The taste is amazing, but the design of this cake is what makes it truly special. A tree trunk cake base, edible honeycomb on top, and friendly fondant bees buzzing around make this cake as adorable as can bee!
Sweet-As-Honey Beehive Cake
Equipment
- 12-inch springform pan
- Hand mixer
- Mixing bowls
- wooden skewer or toothpick
Ingredients
- 1.5 cups sugar
- 0.5 cup honey
- 1 tsp saffron powder
- 1 pinch salt
- 1.33 cups vegetable oil
- 1.75 cups milk
- 9 eggs
- 2 tbsp baking powder
- 7.5 cups flour
- 3 lemons
- 11 sticks butter, softened
- 8.33 cups powdered sugar
- 3 cups cocoa powder
- 12 oz white chocolate, tempered
- yellow food coloring
- honey for garnish
- yellow & black fondant
- sliced almonds
- bubble wrap
- new comb
Instructions
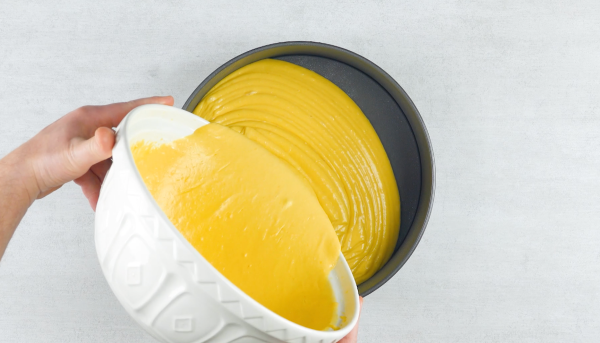
- Grease a 12-inch springform pan and preheat the oven to 325°F. For the honey cake, combine the flour and baking powder in a large mixing bowl. In a separate mixing bowl, stir together the zest and juice of 3 lemons. Combine the vegetable oil, sugar, honey, saffron, milk, and salt and beat everything together using a hand mixer. Gradually add in the eggs and continue beating the mixture until the consistency becomes light and fluffy. Once the mixture reaches the desired consistency, add in both the lemon and flour mixtures and beat everything until a smooth batter forms. Pour the batter into the greased springform pan, transfer the pan to the oven, and bake at 325°F for 90 minutes. Remove the cake from the oven and let it cool completely.
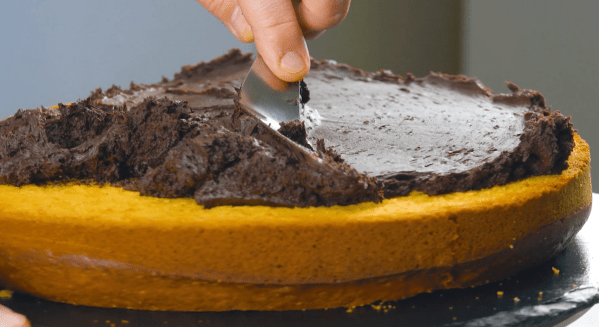
- For the chocolate frosting, beat the softened butter until it becomes light and fluffy, then gradually add in the powdered sugar. Once all of the powdered sugar is incorporated, beat in ½ of the cocoa powder. Once the frosting is smooth and creamy, set aside 1½ cups for later. Add the rest of the cocoa powder to the remainder of the frosting so that you're left with 2 different shades. Cut the cooled honey cake in half horizontally so that you're left with 2 even layers. Cover one of the layers with a thick layer of the dark chocolate frosting and place the second layer of cake on top.
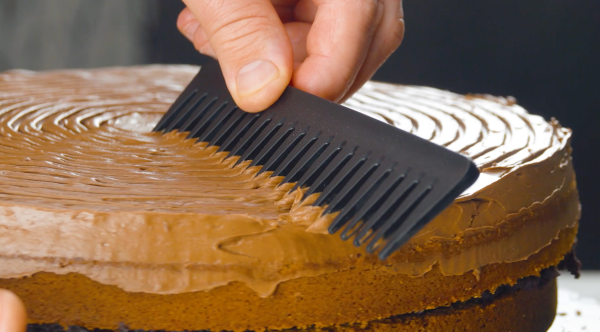
- Wash a newly purchased comb thoroughly. Cover the top of the second honey cake layer with the light chocolate frosting and drag the comb over its surface to make circular grooves in the top.
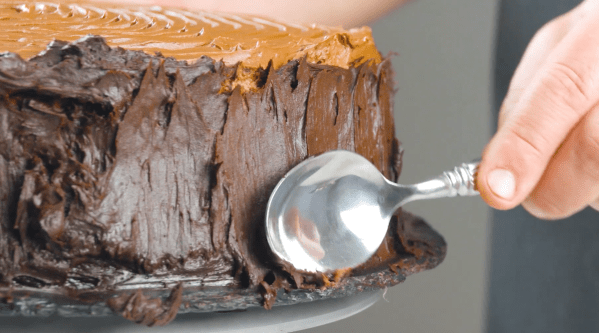
- Cover the outer edges of the cake with the remainder of the dark chocolate frosting and drag the back of a spoon across it vertically, moving from bottom to top, to create a texture that looks like tree bark. Repeat this technique for the entire outer edge of the cake, then transfer the cake to the refrigerator and let it chill for at least 2 hours.
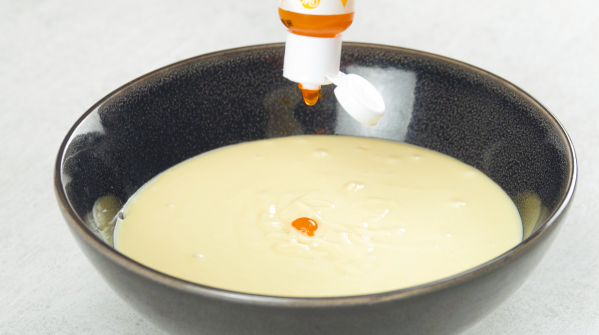
- For the white chocolate honeycomb, wash a circular piece of bubble wrap thoroughly, flip a large mixing bowl upside down, and cover the bowl in plastic wrap. Temper the white chocolate and stir in yellow food coloring.
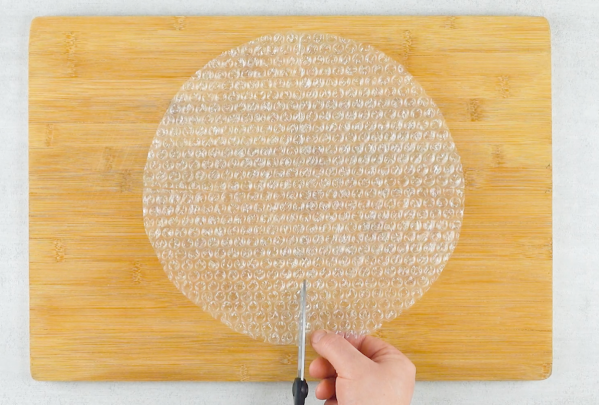
- Cut 4 slits in the round piece of bubble wrap, starting from the outer edge and cutting towards the center at 90° intervals.
- Brush the tempered yellow chocolate over the bubble wrap and carefully place it, bubble wrap side facing up, on the bowl covered in plastic wrap. Let the white chocolate set, and once it has dried, carefully remove the bubble wrap.
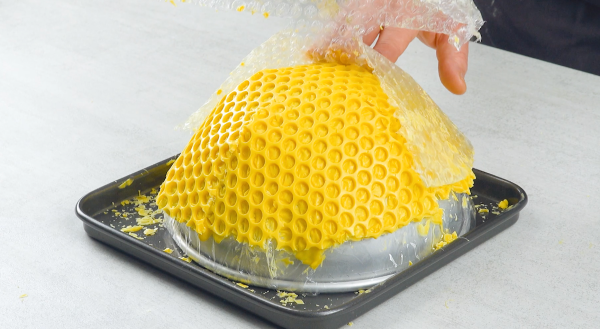
- For the edible bees, mold yellow fondant into the shape of the bees' bodies and use the black fondant to add stripes and eyes. Use a wooden skewer or toothpick to draw smiles on all of the bees' faces and insert 2 almond slices into their backs to make wings. Break off pieces from one side of the dried white chocolate honeycomb dome to create an opening for the beehive. Place the domed beehive on top of the cake, display the additional pieces of white chocolate honeycomb on the surface of the cake, and place the fondant bees around their new home!
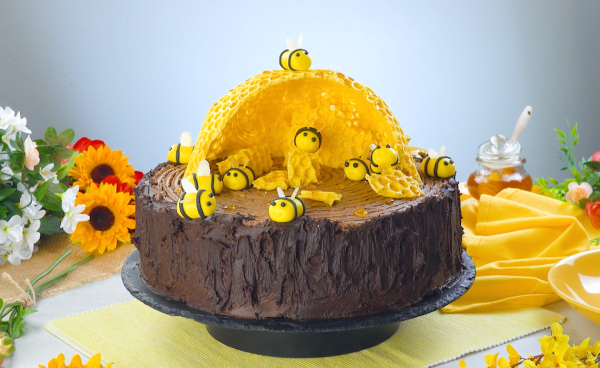
- To finish off the spectacular design for this cake, drip some honey on top of the beehive. This sweet-as-honey beehive cake is a great way to show off your baking skills and impress the whole hive. It's sure to be all the buzz at your next get-together!
VIDEO
To finish off the spectacular design for this cake, drip some honey on top of the beehive. This sweet-as-honey beehive cake is a great way to show off your baking skills and impress the whole hive. It’s sure to be all the buzz at your next get-together!
